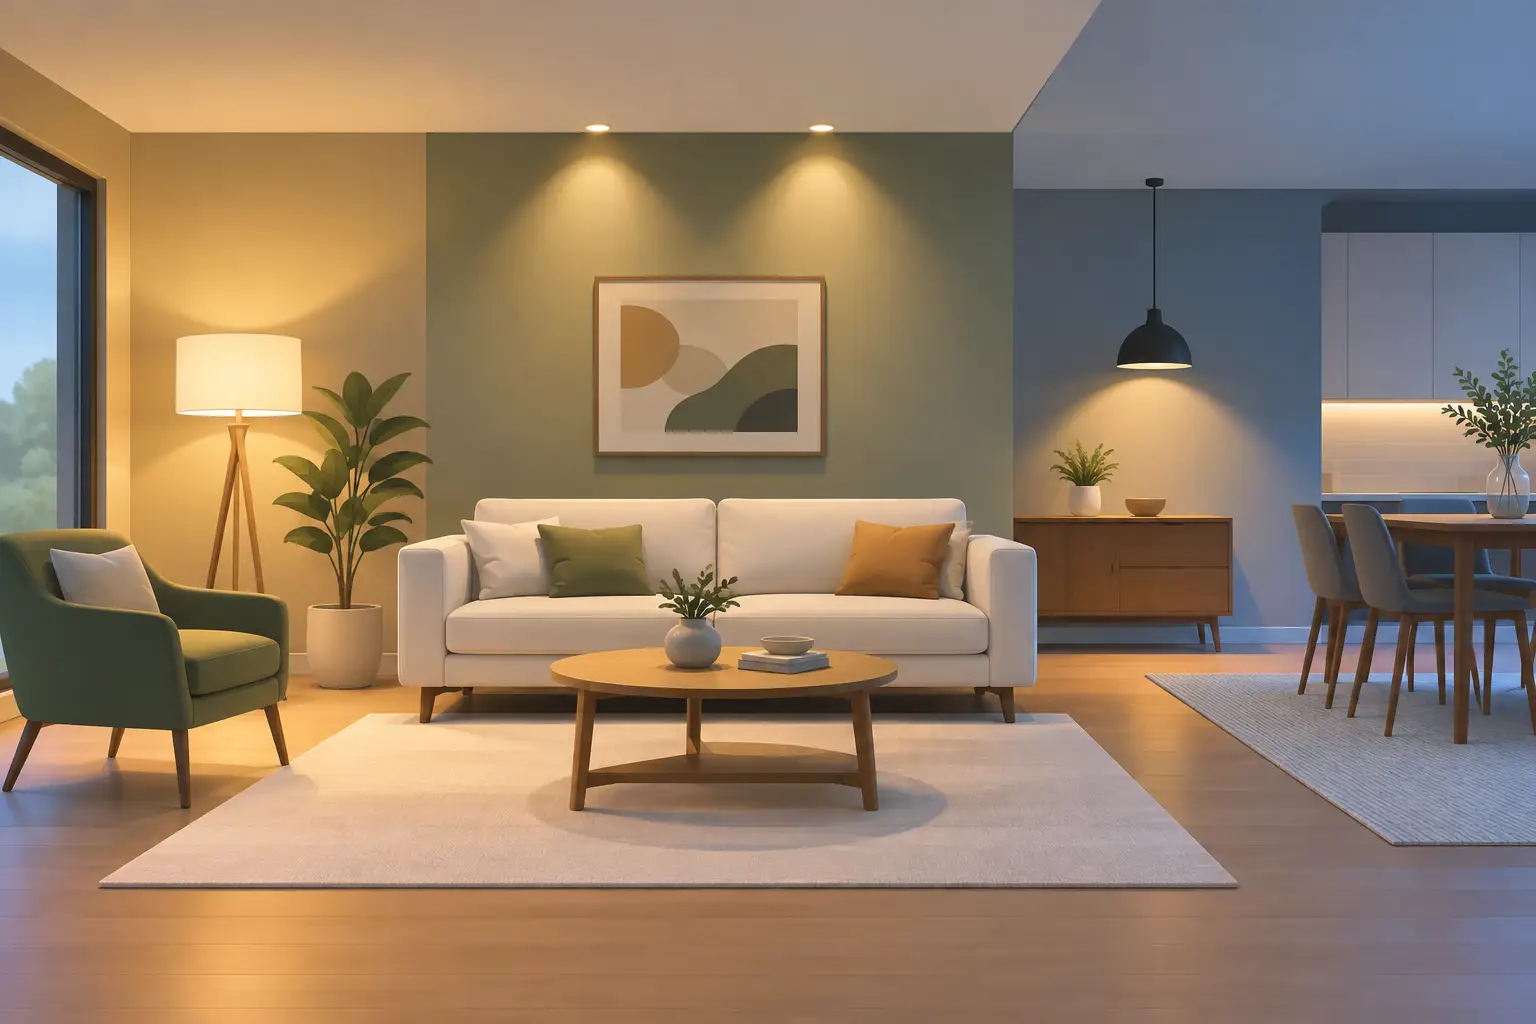
A kitchen can have beautiful fixtures and still feel wrong at 6:30 p.m. if one switch turns on every light in the room. The island is too bright for dinner, the sink is too dark for cleanup, and the pathway to the living room disappears when the main lights go off. Learning how to design lighting zones solves that everyday frustration by giving each area the right light, at the right level, when it is needed.
Lighting zones are not about adding complexity. They are about making a home easier to live in. A well-planned system lets bright task lighting support cooking, softer light make a family room comfortable, and low pathway lighting help someone move through the house without waking everyone else. The goal is simple control that feels natural from the first day in the home.
What Is a Lighting Zone?
A lighting zone is a group of lights controlled together because they serve the same purpose. In a kitchen, pendants over the island may be one zone, under-cabinet lights another, recessed ceiling fixtures a third, and lights over the dining table a fourth. Each group can be switched, dimmed, or included in a preset based on how the room is being used.
The key is to group lights by activity, not just by room. A large open-concept space may look like one room on a floor plan, but it often supports cooking, eating, relaxing, reading, and moving between spaces. One all-or-nothing switch cannot serve those activities well.
Zones also create flexibility over time. A play area may later become a homework station. A spare bedroom may become a home office. When lighting is divided thoughtfully, the room can adapt without a major electrical overhaul.
How to Design Lighting Zones Around Daily Life
Start with routines before selecting fixtures or choosing control locations. Think through what happens in each room from morning to night. Where do people prepare food? Where do they read? Which path is used for a late-night glass of water? Which lights should remain available when the rest of the home is winding down?
This approach produces better results than simply counting recessed lights. A lighting plan should support the way a household actually moves and lives, including the less obvious moments between activities.
Separate ambient, task, and accent light
Most successful rooms use three layers of light. Ambient lighting provides overall visibility, often through recessed fixtures, ceiling-mounted lights, or indirect lighting. Task lighting focuses on work surfaces such as kitchen counters, vanities, desks, and laundry folding areas. Accent lighting brings attention to architectural details, artwork, shelving, or a fireplace surround.
These layers should rarely be tied to a single control. If all three are activated at full brightness, the room can feel flat and overly bright. Separate zones allow a homeowner to use only the light required for the moment. During meal preparation, task lighting may lead. During a quiet evening, accents and softened ambient light may be all that is needed.
Identify the transitions, not only the destinations
Hallways, stairs, entries, and the route between the bedroom and bathroom deserve more planning than they often receive. These are transition spaces, and they work best with gentle, independently controlled lighting. A bright overhead fixture can be useful for cleaning, but it is not always welcome at night.
Consider a lower-level zone for steps, toe kicks, or nearby wall lighting. The right solution depends on the architecture and wiring options, but the principle stays the same: people should be able to move through the home comfortably without turning on every light along the way.
Give open rooms clear boundaries
Open floor plans benefit from zones more than almost any other layout. The kitchen, dining area, and great room may share sightlines, yet they should not operate as one lighting environment.
In a typical open living area, separate the kitchen work lights from island pendants, dining fixtures, general living-room illumination, and decorative accents. That division makes it possible to cook while someone else watches a movie, host dinner without flooding the seating area with light, or keep the kitchen usable after the rest of the room has been dimmed.
The trade-off is that too many individual controls can feel cluttered. This is where intuitive keypads, dimmers, and well-named presets matter. A homeowner should not have to remember which button operates every fixture. They should be able to choose a setting such as “Cooking,” “Dinner,” or “Evening” and let the system handle the balance.
Plan Each Room for Its Real Use
Room-by-room planning keeps a lighting design practical. The same zoning strategy should not be repeated everywhere because each space has different needs.
Kitchen and dining areas
The kitchen typically needs the most control flexibility. Divide lighting between general ceiling light, island or peninsula pendants, under-cabinet task light, and dining light when applicable. If the kitchen includes glass cabinets, open shelving, or a feature wall, those decorative elements can be a separate accent zone.
Dimming is especially valuable here. Full brightness helps with prep work and cleanup, while a reduced level creates a more relaxed setting for breakfast, entertaining, or an evening snack. Avoid relying on pendants alone for task work. They add character, but counter lighting should be direct, even, and free of harsh shadows.
Family rooms and media spaces
A family room needs to shift easily between conversation, reading, television viewing, and casual entertaining. General overhead lighting should be dimmable and separate from lamps, wall lighting, or architectural accents. If there is a television, plan light placement carefully to reduce glare and reflections on the screen.
Rather than placing bright fixtures directly in front of the display, use side lighting, indirect light, or dimmable accent sources around the room. The objective is a comfortable visual environment, not a dark cave. People still need enough light to move safely, find a drink, or read from a side chair.
Bedrooms and bathrooms
Bedrooms work best with at least a general zone and bedside lighting that can be controlled without getting out of bed. A reading nook, dressing area, or tray ceiling may deserve its own zone depending on the room’s size and layout. Keep controls straightforward, particularly near the bed and room entry.
In bathrooms, separate vanity lighting from general ceiling light. Vanity light should be bright enough for grooming without creating deep facial shadows. A lower nighttime zone can make early mornings and late nights far more comfortable. If natural light changes dramatically throughout the day, adjustable shades paired with lighting control can help maintain a balanced feel.
Entries, halls, and exterior living areas
An entry should offer welcoming light without creating glare for someone arriving after dark. Consider a general entry zone plus an accent for a stair, artwork, or architectural feature. Hallways can use general lighting with a lower setting for overnight movement.
For patios and outdoor living areas, divide functional lighting from mood lighting. Cooking or dining areas may need brighter illumination, while seating areas benefit from softer levels. Thoughtful zoning helps extend the use of these spaces without making the yard feel overlit.
Choose Controls That Keep Zones Simple
A good lighting plan can be undermined by confusing controls. The more zones a home has, the more important it becomes to organize them clearly. This does not mean every zone needs its own wall switch. In fact, a clean control strategy often combines a few familiar local controls with scene keypads and app-based adjustment when useful.
Presets are especially helpful for recurring moments. A “Morning” setting might bring up kitchen and bathroom lights gradually. “Entertain” can brighten food preparation areas while keeping dining and living spaces warm. “Goodnight” can turn off selected zones while leaving a few low-level lights for the final trip upstairs.
For new construction, coordinate lighting zones early with the builder, electrician, interior designer, and technology integrator. Fixture locations, switch locations, trim details, and furniture placement affect one another. During a renovation, the available wiring and wall access may shape the plan, but there are still effective options for improving control without rebuilding every room.
Avoid the Two Common Zoning Mistakes
The first mistake is under-zoning: placing every light in a room on one switch. It may reduce decisions during installation, but it removes comfort and flexibility every day afterward. The second is over-zoning: creating so many separate groups that nobody knows how to use the system.
The right balance depends on room size, ceiling height, daylight, furnishings, and household routines. A compact bedroom may only need two zones. A large kitchen and great room may need five or more. Professional planning helps make those decisions before fixtures, finishes, and control locations are locked in.
A lighting system should fade into the background of daily life. When zones are planned around real activities and controls are kept intuitive, the home simply feels more comfortable from morning through night.


No responses yet