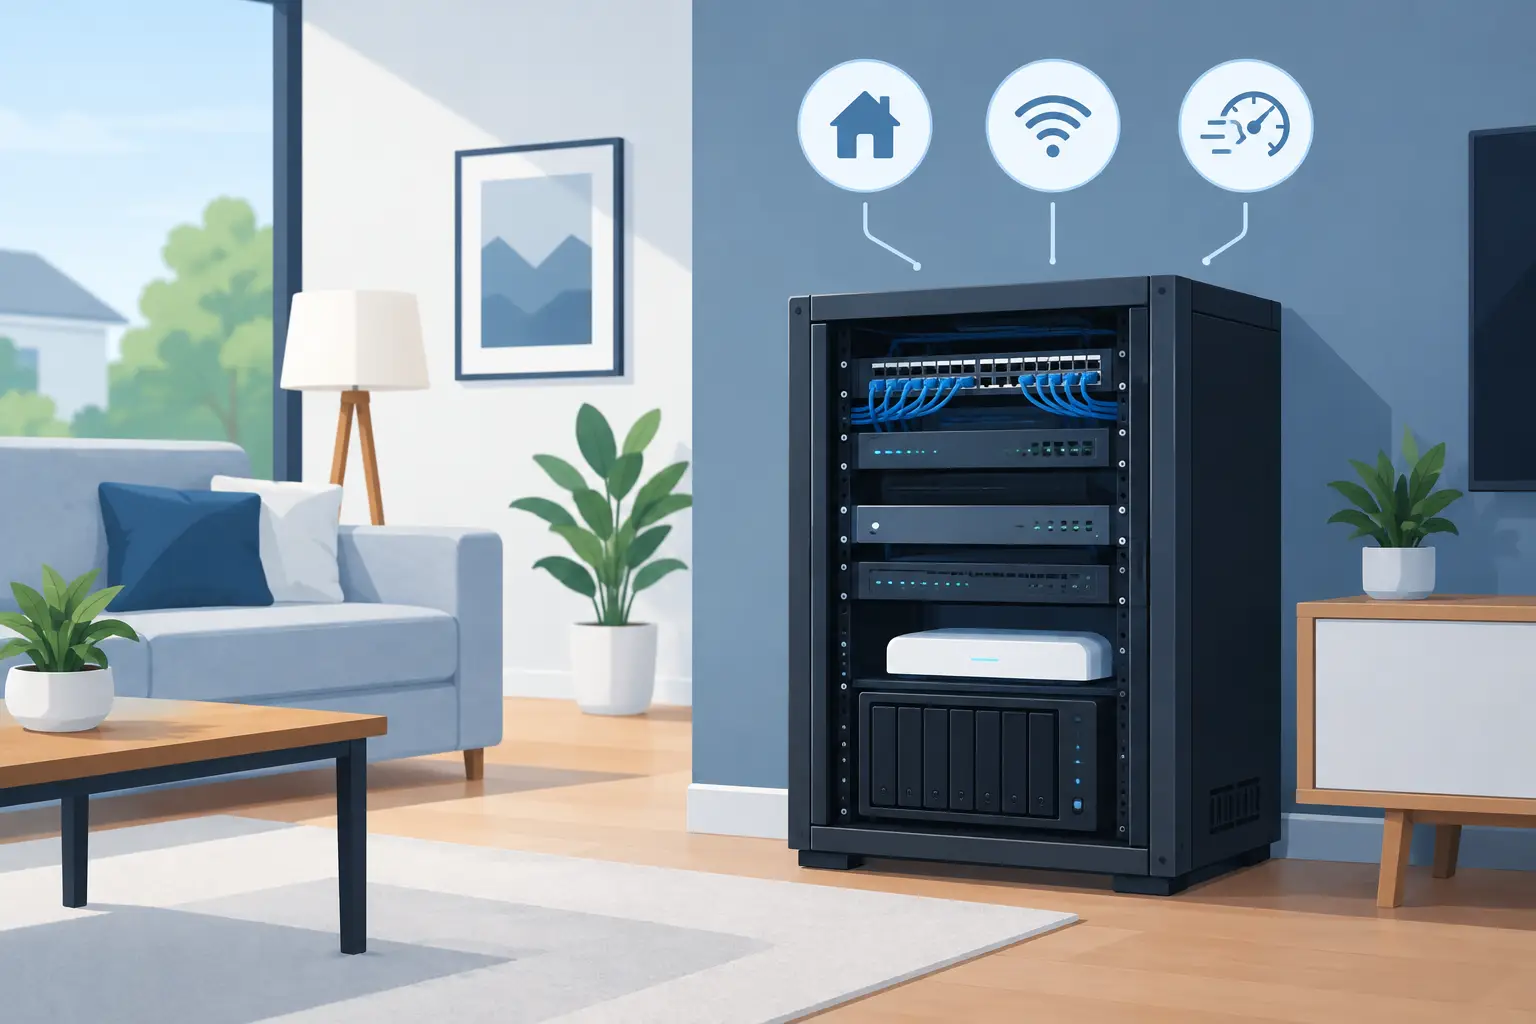
A pile of blinking devices in a closet may work for a while, but it rarely stays simple. A well-planned home network rack guide starts with a different goal: give the technology your household relies on a clean, organized place to live, so Wi-Fi, streaming, audio, and smart-home devices perform reliably without taking over your space.
For a new build, remodel, or a home with recurring connection problems, the rack is often the quiet foundation behind better daily experiences. It keeps key equipment protected from clutter, makes service easier, and gives your system room to grow without turning a utility closet into a troubleshooting project.
Home Network Rack Guide: What Belongs Inside
A network rack is a cabinet or open frame designed to hold low-voltage equipment in a tidy, serviceable layout. It is not simply a storage shelf for a modem and router. When planned properly, it becomes the central point where internet service, wired connections, Wi-Fi equipment, audio components, and other connected home systems come together.
The exact contents depend on the home and the family’s priorities. A modest setup may hold an internet gateway, router, network switch, patch panel, and battery backup. A larger home may also need equipment that distributes reliable wired connections to televisions, wireless access points, home offices, ceiling speakers, and entertainment areas.
The benefit is not just a cleaner look. Each cable can be labeled, each component has a defined place, and a technician can identify an issue without tracing a tangle of cords across the floor. That organization matters when a device needs attention years after installation, especially when homeowners do not want to manage technical details themselves.
Start With the Home, Not the Hardware
It is tempting to choose a rack based on a photo online or a list of equipment. A better approach starts with how the house will be used. Consider where people work, stream, take video calls, listen to music, and use mobile devices. Think about planned additions as well, such as a finished basement, outdoor living area, dedicated theater, or detached workspace.
A connected home benefits from a wired backbone. Wireless devices are convenient, but a wired connection remains the best choice for fixed equipment that needs consistent performance, including televisions, desktop computers, wireless access points, and many audio components. Running the right cables during construction or renovation is far easier and cleaner than opening walls later.
This is also where professional planning pays off. The number of cable runs, the type of equipment, and the need for backup power all affect rack size and layout. A rack that is full on installation day leaves little room for future needs. Allowing open space from the beginning is a practical investment in flexibility.
Choose a rack size with room to grow
Rack equipment is measured in rack units, commonly written as U. One rack unit is 1.75 inches tall. A compact wall-mounted rack may be appropriate for a smaller home with a limited number of wired connections. A larger wall cabinet or floor-standing rack may make more sense for a custom home with multiple entertainment zones, extensive structured wiring, and several wireless access points.
Do not size the rack only for what is being installed now. Leave room for cable management, ventilation, a battery backup, and future components. In many homes, selecting the next size up creates a much better long-term result without adding unnecessary visual bulk.
Depth matters, too. Some network components are shallow, while battery backup units and certain audio components need more space. Before selecting a cabinet, confirm the depth of every planned device and account for cable bend radius behind the equipment. A cabinet that looks large enough on paper can become cramped once power cords and network cables are in place.
Put the Rack in a Practical Location
The best rack location is usually central to the home, accessible for service, and separate from everyday living areas. A conditioned basement, dedicated technology closet, utility room, or finished storage area can work well. The location should be dry, clean, and protected from temperature extremes.
Avoid placing a rack in an unconditioned attic, a damp area, or a tightly enclosed closet with no airflow. Heat shortens equipment life and can contribute to intermittent performance problems that are frustrating to diagnose. Even compact network equipment produces heat when it operates continuously.
Convenient service access is just as valuable as a hidden location. A rack should be easy for a technician to reach from the front and, when possible, the rear. Leave enough clearance to open the cabinet door, manage cables, and replace a component without dismantling the entire installation.
For homeowners in Northeast Ohio, basement locations are common and often work very well. The key is choosing a finished or conditioned area that stays dry, has dependable power, and is not likely to become a catchall for storage.
Plan Power, Cooling, and Cable Management Together
A polished rack installation is built around more than network equipment. It also needs dependable power, reasonable airflow, and a clear path for every cable.
A battery backup can keep essential networking equipment running through short power interruptions and provide time for an orderly shutdown during longer outages. The right capacity depends on the equipment load and how long you want core connectivity to remain available. It is usually best to reserve backup power for the devices that support the network rather than plugging every nearby device into it.
Cooling should be proportional to the rack and its contents. An open rack in a spacious conditioned room may need little beyond natural airflow. An enclosed cabinet in a small closet may need vented panels or quiet fans. The goal is not to make the room cold. It is to prevent heat from building around equipment that runs all day.
Cable management is where a rack either stays orderly or slowly becomes difficult to service. Patch panels, horizontal cable managers, vertical pathways, and properly sized patch cords keep connections visible and easy to follow. Labels should identify both ends of every cable in plain language, such as “Office Desk,” “Family Room TV,” or “Upstairs Wi-Fi.”
That level of detail may seem small during installation. It makes a meaningful difference later, whether you are adding a device, changing a room’s purpose, or having service performed.
Understand the Core Equipment
Most home racks contain a few essential categories of equipment. The modem or internet gateway connects the home to the provider. The router manages traffic between the internet and the devices inside the home. A network switch adds more wired ports, while a patch panel provides a clean termination point for the cables running through walls and ceilings.
Wireless access points deserve special consideration. Rather than asking one router to cover an entire home from a single corner, well-placed access points can provide more consistent coverage where people actually use their devices. Their placement should be based on home layout, construction materials, and expected use, not just square footage.
Many installations use Power over Ethernet, or PoE, to send power and data over one network cable. This reduces the need for separate outlets near ceiling-mounted access points and other compatible devices. It also keeps the installation cleaner and easier to support.
Equipment selection should match the home’s needs. More ports, higher power capacity, and advanced management features can be useful, but they are not automatically better. A well-designed system is one that performs reliably and can be understood and maintained without unnecessary complexity.
When a DIY Rack Makes Sense, and When It Does Not
A capable homeowner can assemble a basic rack, especially in a smaller space with a straightforward network. The work still requires patience, accurate labeling, safe power planning, and a willingness to troubleshoot if something does not behave as expected.
Professional design is often the better fit when a project includes whole-home wiring, multiple wireless access points, distributed audio, theater equipment, or a new construction timeline. The challenge is not mounting devices in a cabinet. It is coordinating wire paths, equipment locations, ventilation, power, configuration, and future service into one dependable system.
A professionally installed rack should not feel intimidating to live with. It should sit quietly in the background while the home works the way it should: connections are dependable, equipment is out of sight, and help is available when needs change.
The best rack is not the one with the most blinking lights. It is the one that gives your home a calm, organized foundation for the technology you use every day.


No responses yet