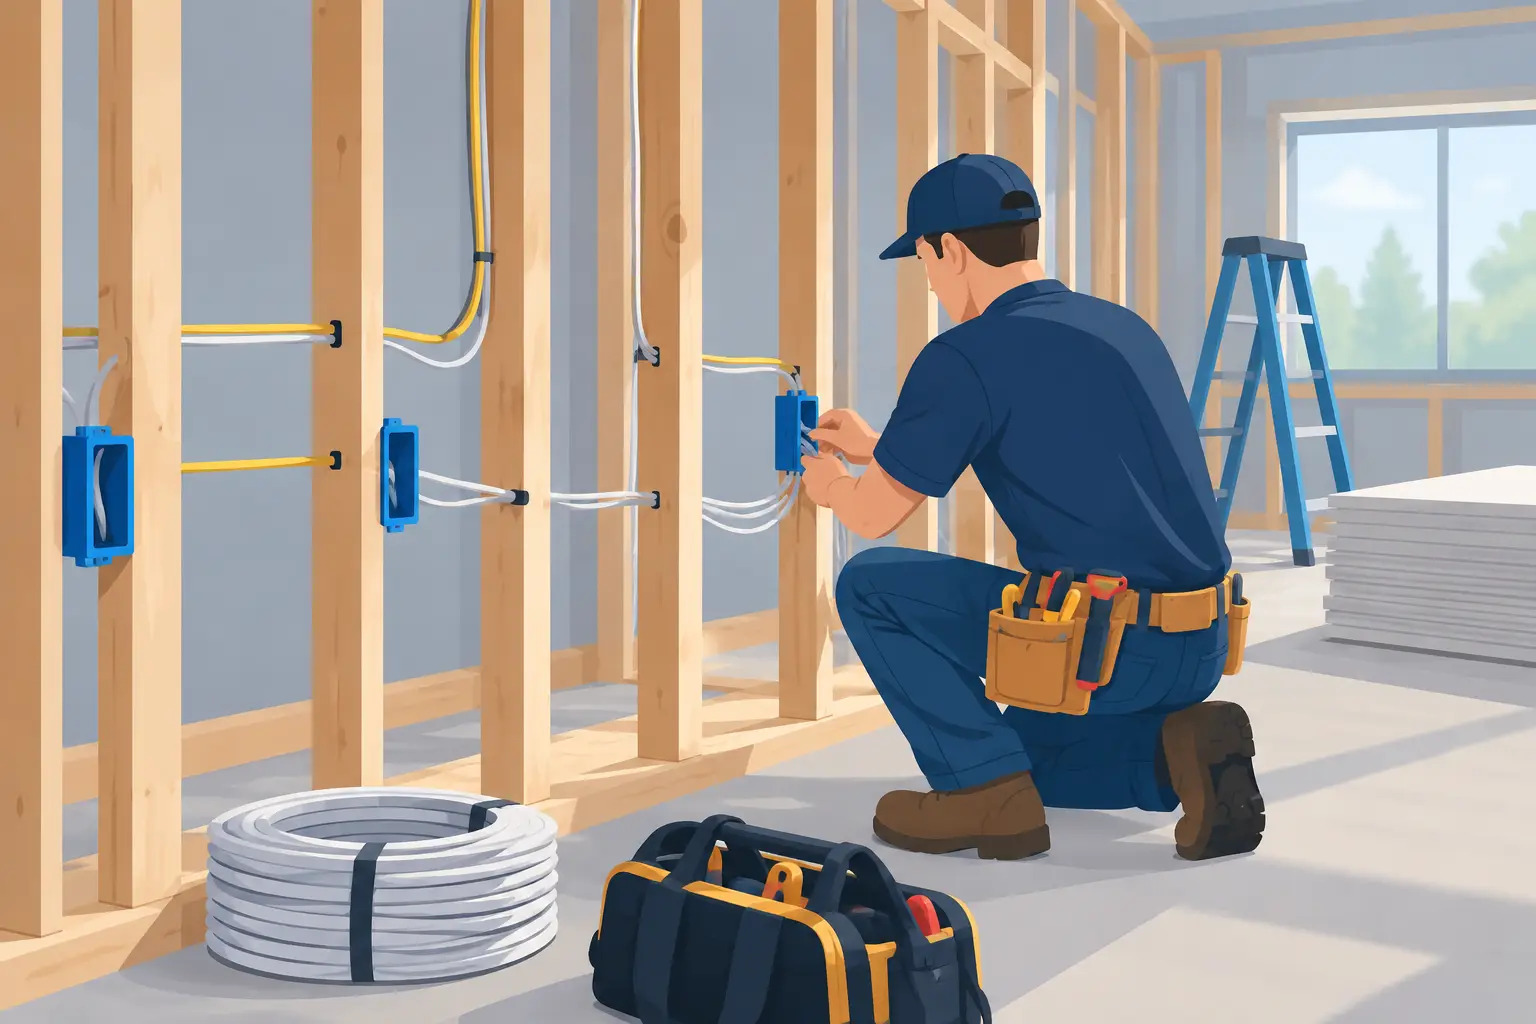
Knowing how to prepare wiring before drywall goes up can make the difference between a home that simply has technology and one that is comfortable to live with every day. Once the walls are closed, adding a cable for a television, better Wi-Fi, whole-home audio, or motorized shades becomes more disruptive and expensive. The framing stage is the right time to plan for the systems you want now, along with the ones you may appreciate later.
For custom home builders and homeowners, the goal is not to fill every wall with wire. It is to create a clean, intentional foundation that supports reliable technology without visible cords, improvised equipment locations, or avoidable renovation work down the road.
Start With How Each Room Will Be Used
A wiring plan should begin with lifestyle, not cable types. Walk the home room by room and ask practical questions: Where will people watch TV? Where will the router and network equipment live? Which spaces need dependable video calling, music, charging, or automated shades? Will a home office need more than wireless connectivity?
A family room with a wall-mounted TV may need power installed by a licensed electrical contractor, low-voltage cabling for the display, and a planned path to an equipment location. A kitchen may benefit from stronger Wi-Fi coverage and audio. Bedrooms might need TV prewire, discreet speakers, or shade wiring at windows. Outdoor living areas often need coverage for Wi-Fi and audio, but their cable routes and equipment must be selected for the environment.
This conversation also prevents a common mistake: planning around furniture that has not been selected. Confirm likely TV walls, desk locations, bed placement, and the direction of window treatments before cable paths are finalized. A few decisions made during framing can preserve a much cleaner finished space.
Choose a Central Home Run Location
Most low-voltage wiring should return to one organized central location, often called a structured wiring enclosure or equipment space. This might be a dedicated closet, a conditioned utility room, or another accessible area that is not overly cramped, hot, or damp.
The location needs enough wall space for network equipment, cable termination, power, ventilation, and service access. A small plastic box tucked behind stored items may work for a basic installation, but it rarely leaves room for growth or easy troubleshooting. For larger homes, a properly planned equipment rack or cabinet makes ongoing support far simpler.
Avoid placing critical technology in an unfinished attic, a garage with extreme temperature swings, or a spot that will be difficult to reach after move-in. The best equipment location is out of sight but not out of reach.
Plan Wi-Fi as a Wired System First
Reliable wireless coverage begins with wired access point locations. A strong internet plan is not just about buying a powerful router and placing it in one corner of the house. Dense building materials, multiple floors, fireplaces, metal ductwork, and large layouts can weaken wireless signals.
Run category cable from the central equipment location to thoughtfully selected ceiling or wall locations where wireless access points can be installed. The exact number depends on the square footage, construction materials, floor plan, and outdoor coverage needs. A modest ranch may need only a few locations, while a larger multi-level home may need more.
Category cable is also useful at stationary devices that benefit from a dependable connection, including televisions, office computers, streaming equipment, and wireless access points. Hardwiring these devices reduces demand on the wireless network and helps keep video calls, entertainment, and connected devices performing consistently.
Leave Room for Future Network Needs
When possible, install conduit from the equipment location to key areas such as the attic, basement, office, and major TV walls. Conduit provides a protected path for future cable additions without opening finished drywall. It is one of the most practical investments in a new build, especially when technology needs may change over the life of the home.
A pull string in each conduit run is a small detail that saves considerable labor later. Label both ends clearly before drywall starts.
Prewire TV Locations With the Finish in Mind
A TV wall is often more than a single cable behind the display. Think about where source equipment will live, whether the TV will be mounted, and whether you want visible components or a quieter, more minimal room.
For a simple installation, category cable and an appropriately planned pathway may be enough. For a more polished setup, low-voltage wiring can run from the display to a nearby cabinet or central equipment area, keeping streaming devices and related equipment out of view. A recessed box or conduit behind the TV can also make future changes easier.
Coordinate low-voltage work with the electrical contractor so outlet placement supports the final mounting height and furniture layout. Low-voltage installers should not perform line-voltage electrical work unless properly licensed for it. Clear coordination keeps the wall clean and helps each system meet applicable requirements.
Consider Audio Before the Ceiling Is Closed
Whole-home audio feels effortless after installation, but the best time to plan it is before insulation and drywall. Ceiling speaker locations should be based on how a room is furnished and used, not simply centered in the room. In an open-concept space, separate listening zones may make more sense than one oversized area.
Speaker wire should run back to the selected equipment location or to a planned local amplifier location. Keep it separated from high-voltage wiring according to applicable requirements to help avoid interference and maintain a professional installation.
Outdoor audio deserves the same advance thought. Decide where sound should be heard, where it should not carry, and how wiring will transition safely to exterior-rated components. Thoughtful placement produces a more enjoyable result than simply adding speakers near the patio after construction is complete.
Prepare Windows for Motorized Shades
Motorized window treatments are easiest to install when power and control needs are addressed during construction. Some shade systems use rechargeable batteries, while others are hardwired for long-term convenience and less maintenance. The right choice depends on window count, access, aesthetic preferences, and how the home will be used.
For hardwired shades, coordinate early with the electrical contractor and the shade provider. Power needs to be placed where it will be concealed by the finished treatment, while still remaining serviceable. Large banks of windows, tall windows, and difficult-to-reach windows are especially worth planning in advance.
This is also the time to think about shade groupings. A homeowner may want one room to operate together, while another may need individual control for privacy, glare reduction, or changing sunlight. The wiring plan should support the desired experience rather than force compromises later.
Use the Right Cable, Pathway, and Labeling
Not all wire is interchangeable. Category cable, speaker wire, fiber, coaxial cable, and control cable each serve different purposes. The best selection depends on the system design, distance, bandwidth needs, and manufacturer requirements. Choosing a lower-cost cable without considering performance or certification can create a weak point that is hidden behind a finished wall.
Equally important is installation quality. Cables should be routed neatly, supported properly, protected at penetrations, and kept away from sources of damage. Avoid tight bends, pinched runs, and overcrowded holes through framing. Each cable should have enough service loop at both ends for clean termination and future maintenance.
Label every run at the central location and at the room end before drywall. A label such as “Great Room TV” is far more useful than “Cable 12.” Photograph the framing, cable routes, and box locations from multiple angles as well. Those records become valuable when hanging art, mounting a TV, or making a future upgrade.
Schedule a Pre-Drywall Walkthrough
Before insulation and drywall begin, schedule a walkthrough with the builder, electrician, and low-voltage professional. Verify that every planned location has been installed, cables are labeled, wall plates are at the correct height, and the central equipment space is ready.
Test cable runs where appropriate before walls close. It is much easier to correct a damaged or missing cable during framing than after paint and trim are complete. This is also the time to confirm that no last-minute design changes, such as a relocated fireplace or revised cabinet plan, affect TV, Wi-Fi, audio, or shade locations.
For homes across Northeast Ohio, Tri-County Technology helps builders and homeowners turn this stage of construction into a practical technology plan rather than a collection of guesses. The focus is simple: install the infrastructure once, install it neatly, and make it easy to enjoy for years.
A finished wall should feel calm, not limiting. Give the home the pathways and wiring it needs while the structure is open, and the technology can stay quiet in the background where it belongs.


No responses yet