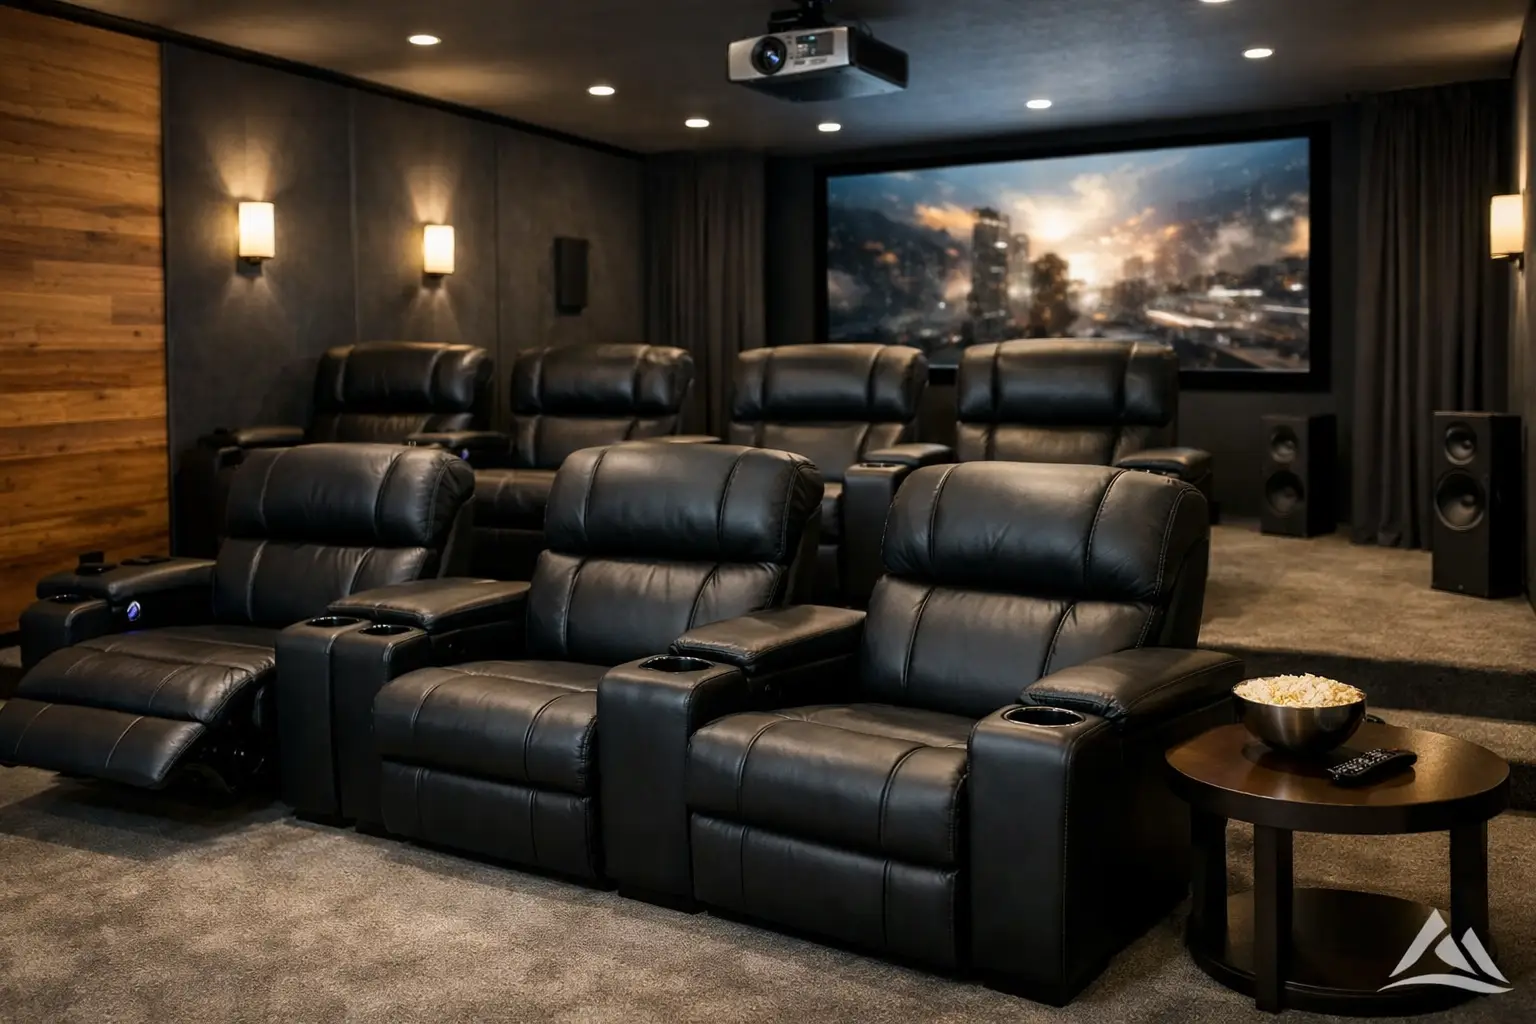
A great screen and strong sound can still feel disappointing if the room layout works against you. The best home theater seating layout is the one that gives every seat a clear view, keeps audio balanced, and feels comfortable for the way your household actually watches movies, sports, and streaming.
That last part matters more than people expect. Some rooms are built for two people who want a premium viewing position every night. Others need to handle family movie nights, weekend guests, or a multipurpose basement that has to work just as well for casual TV as it does for a full surround sound experience. The right seating plan starts with the room, but it should finish with your habits.
What makes the best home theater seating layout?
The best layouts usually solve three things at once – sightlines, sound, and walking space. If one of those is off, the room never feels quite right.
Sightlines are the obvious starting point. Every seat should have a comfortable, direct view of the screen without forcing people to look too far up, too far sideways, or around someone else’s head. In a single-row room, that is fairly easy to achieve. In a two-row room, it takes more planning because the back row often needs elevation to see clearly over the front.
Sound is just as important. Seats that are pushed too far against the back wall or crammed into corners often get uneven bass and less natural surround effects. The center seat in the room is not always practical, but the main listening position should still sit in a balanced spot relative to your speakers.
Then there is the simple matter of comfort. A theater room should feel easy to use. If people have to squeeze past reclined chairs, twist around side tables, or avoid blocking the projector beam, the room becomes a hassle. Good design should feel natural from the moment you walk in.
Start with the main viewing position
Before choosing the number of seats, start by identifying the best seat in the room. That primary viewing position becomes the anchor for the rest of the layout.
In most dedicated home theaters, this seat lands near the horizontal center of the screen and far enough back to create a wide, immersive picture without feeling overwhelming. The exact distance depends on screen size and resolution, but the goal is simple: the image should fill your attention without becoming tiring during a two-hour movie.
For audio, the main row should not sit hard against the back wall unless the room leaves no better option. Pulling seating forward even a little can improve sound quality and create space for speakers, acoustic treatment, and easier movement. This is one of the biggest differences between a room that looks like a theater and one that performs like one.
Best home theater seating layout for small rooms
In a smaller media room, simplicity usually wins. One row of seats is often the best answer, especially when the room is under about 14 feet deep. Trying to force a second row into a tight space can compromise comfort, sightlines, and audio all at once.
A single row of three or four seats works well when the width allows each person to face the screen comfortably. If the room is narrow, two or three seats may be the better choice. This can feel like less seating on paper, but it often creates a better experience for everyone who uses the room regularly.
Sectionals can work in casual media rooms, though they are not always ideal in dedicated theaters. The corner seat usually gets the weakest view, and deeper cushions can place people too low relative to the screen. Theater recliners or a well-sized sofa often provide a cleaner fit and more predictable viewing angles.
If you need flexibility, consider a primary row with a bar or console table behind it instead of a full second row. That keeps the room open while still giving guests a place to sit during larger gatherings.
The best home theater seating layout for larger rooms
A larger room opens the door to two rows, and sometimes three, but bigger does not automatically mean better. Once you add more seats, layout details matter much more.
Two rows tend to be the sweet spot for dedicated theaters. The front row should be placed for the best screen immersion and speaker balance. The second row should sit on a riser high enough to preserve clear sightlines. Without that elevation, the back row often ends up feeling like an afterthought.
Riser height depends on screen placement, chair height, and row spacing. This is one area where rough guesses can create expensive frustration later. A layout that looks fine on paper can still block the lower part of the screen once real seating is installed. Professional planning helps avoid that problem before construction starts.
For very large rooms, three rows can work, but only if the room depth, ceiling height, and speaker design support it. Otherwise, the back seats become too far from the screen and too close to rear boundaries. In many homes, a better answer is to make two rows feel excellent instead of stretching for a third that feels secondary.
Row spacing, recline space, and walkways
One of the most common layout mistakes is underestimating how much space seating needs once chairs recline. A row that looks compact in a product photo can take up much more room in a real installation.
You need enough distance between rows for footrests to extend and for people to pass through without awkward sidestepping. If you want a center aisle, the room has to be wide enough to support it without forcing outer seats too close to the walls. In some rooms, a single side aisle is the better trade-off.
This is where custom design becomes especially valuable. Clean paper measurements are helpful, but actual rooms include trim, columns, soffits, equipment cabinets, and door swings that affect circulation. A seating layout should account for all of it so the room feels calm and uncluttered when finished.
Choosing between straight rows and curved rows
Straight rows are clean, efficient, and easy to fit. They work well in many rooms, especially when the screen is not extremely large or the seating is relatively close.
Curved rows can improve viewing angles by turning each seat slightly toward the screen center. That is helpful in wider rooms where outer seats would otherwise feel too far off-axis. The trade-off is that curved layouts need more planning, and they can affect side aisle width or equipment placement.
There is no universal winner here. If the room is compact and symmetrical, straight rows may be the most practical option. If the room is wider and intended for multiple viewers at once, a subtle curve often creates a more comfortable experience across the whole row.
Don’t let the screen dictate everything
Homeowners sometimes choose seating based only on the screen wall, then discover later that the room sounds off or feels cramped. The screen matters, but it is only one part of the system.
Speaker placement, subwoofer behavior, lighting, and even HVAC vents can affect where seating should go. For example, placing the back row directly under a soffit or near a noisy vent can make those seats less enjoyable no matter how good the view is. Likewise, pushing all seating toward the rear because it leaves a big open area in front can weaken immersion and hurt surround performance.
A well-planned room balances all of these factors together. That is often the difference between a theater that simply looks polished and one that genuinely feels effortless to use.
Practical layout choices for real homes
Many home theaters are not built in perfect rectangular rooms. Basements, bonus rooms, and renovated spaces often come with limitations. That does not prevent a great result, but it does mean the best home theater seating layout may be a tailored one rather than a textbook one.
In a basement with a lower ceiling, a single premium row may outperform a cramped two-row design. In a family media room, a sofa with a few well-placed accent seats may be better than dedicated recliners in every position. In a new build, it may make sense to plan the riser, wiring, projector position, and lighting around the seating layout from the start, rather than fitting seating in later.
That is also why professional integration is helpful. Companies like Tri-County Technology look at the full room experience, not just individual products. Seating, video, audio, control, and room flow should support each other quietly in the background, so using the space feels easy from day one.
The right layout is not always the one with the most seats or the biggest screen. It is the one that makes the room feel comfortable, balanced, and worth using often. If you plan around how you actually live, the theater will feel less like a showroom and more like your favorite seat in the house.


Comments are closed